Transform a Pillowcase into a Clutch Purse | Style Revive Season 4, Episode 2
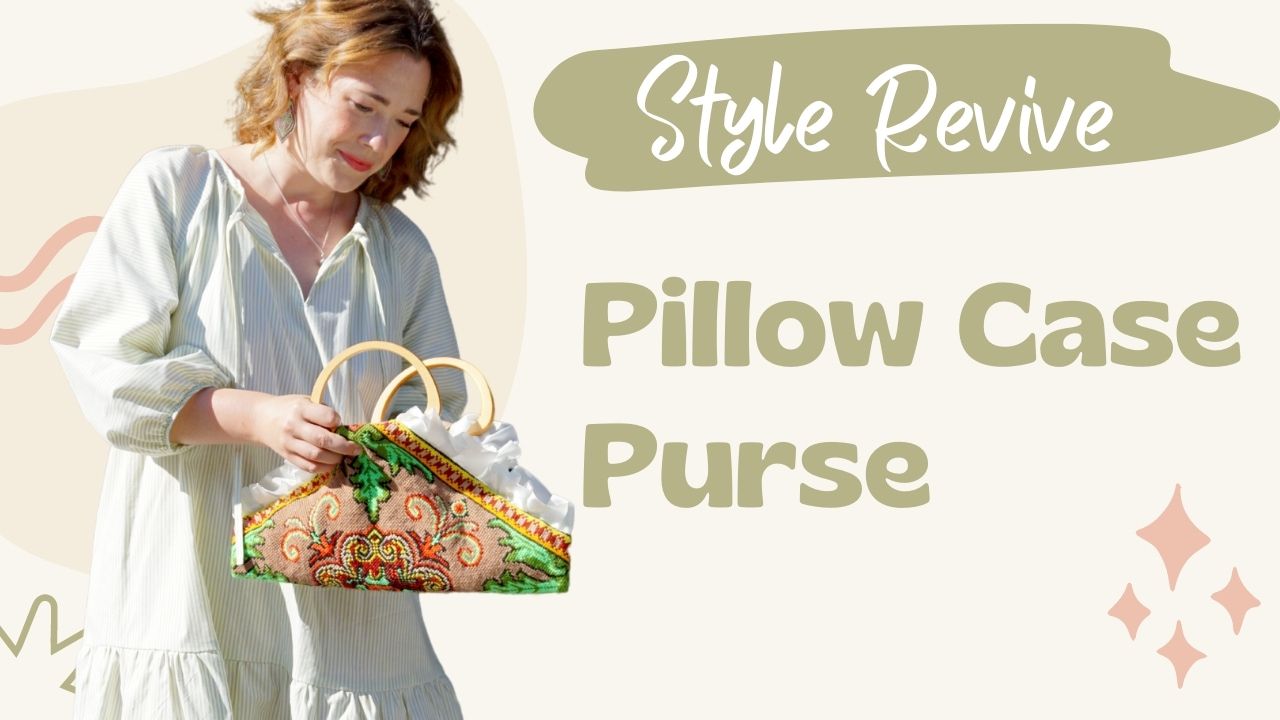
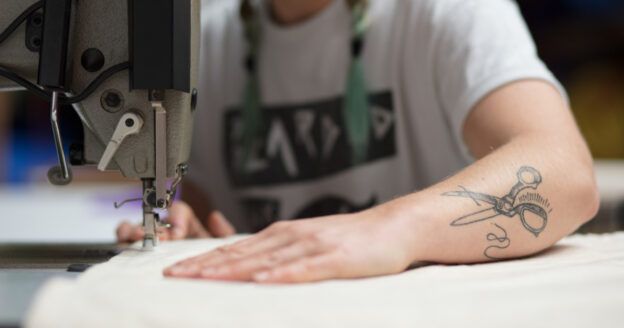
|Sponsored| When you have been sewing garments for a while, it’s only natural to step into the accessory-making pond. A fabulous place to start is fixing your existing ones, as well as playing around with upcycling! In this episode of Style Revive, I make a cute clutch purse from a thrifted tapestry pillowcase. I also lay out my bunny-chewed and damaged purses and shoes to fix them, with the help of upcycle expert Sadie Fox Metter. It’s always fun to play around in the studio with unconventional materials and fix items instead of throwing them away.
If you’d like to watch the whole series on YouTube (and watch Seasons 1-3 while you’re at it) subscribe to the Sew Daily Network YouTube channel. We’ll be releasing episodes every Tuesday into mid-October, and then we’ll have a fun live event on November 2!
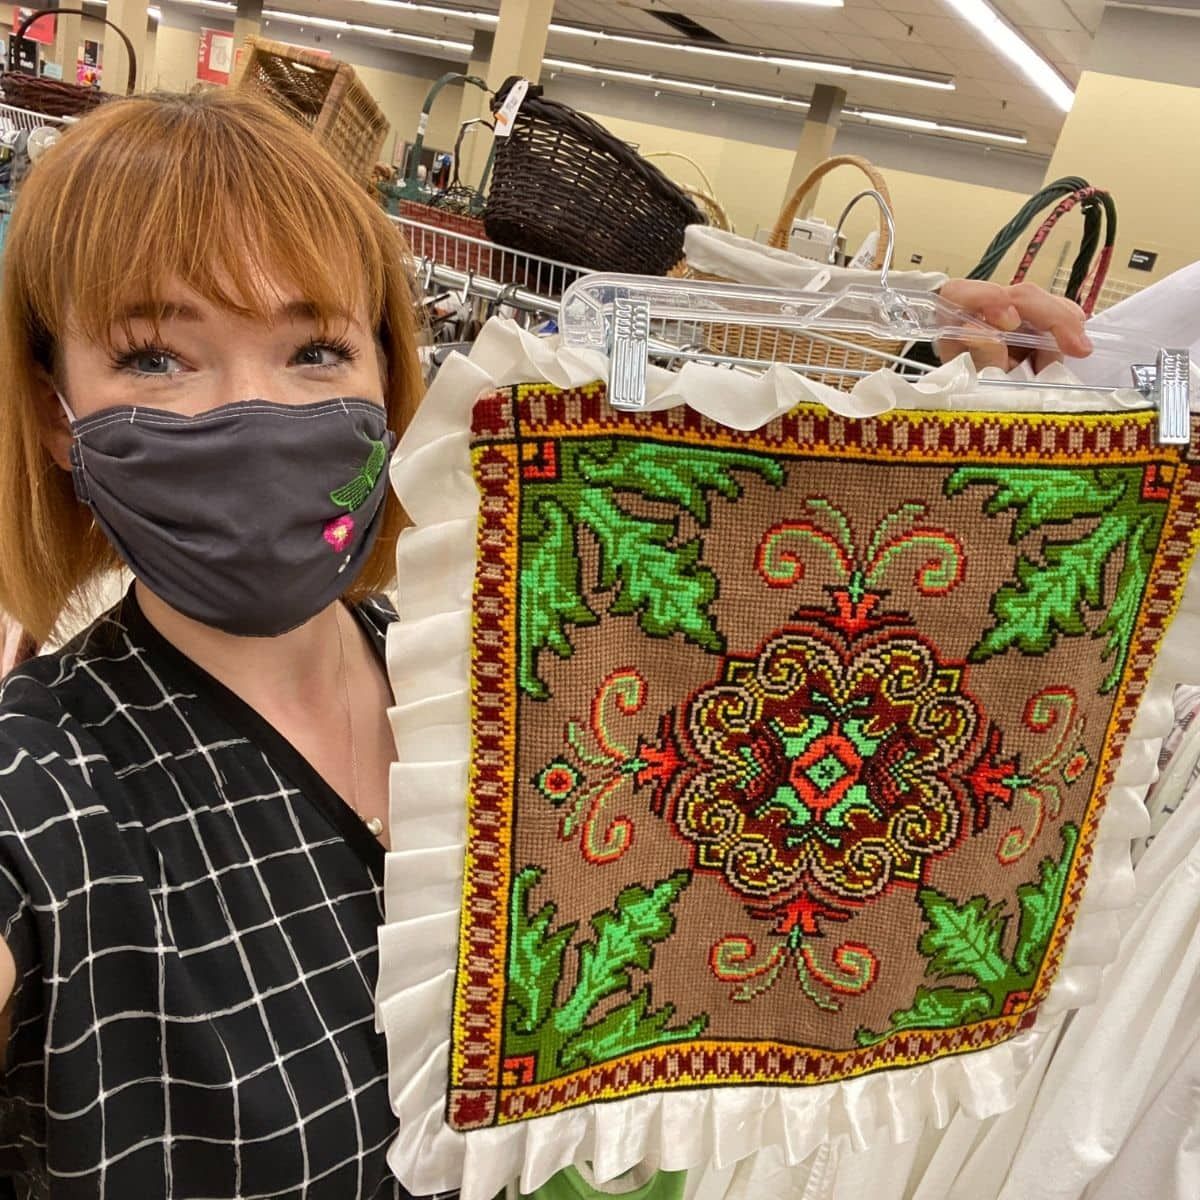
I fell so in love with this pillowcase design while I was thrift shopping for season 2 of Style Revive that I kept it safe until I had a chance to talk to Sadie. This episode was the perfect opportunity! Watch to see how I turn this fun tapestry pillowcase into a cute clutch purse, as well as brainstorm ideas to make and repair lots of other accessories.
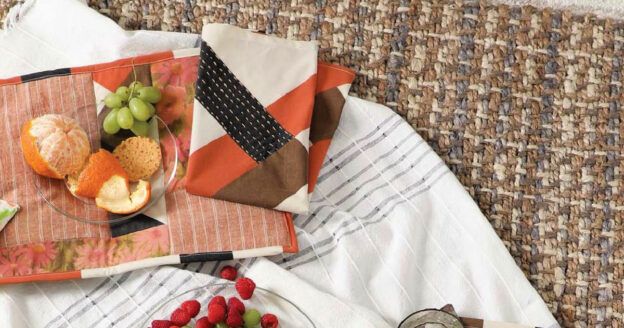
Upcycle 1: Tapestry Pillowcase into Clutch Purse
It’s so great that now I can take this colorful and fun print with me wherever I go! I even brought it with me to a recent weekend getaway to Niagara Falls. Retro tapestry for fashion is really in right now and I couldn’t be more thrilled for how this turned out.
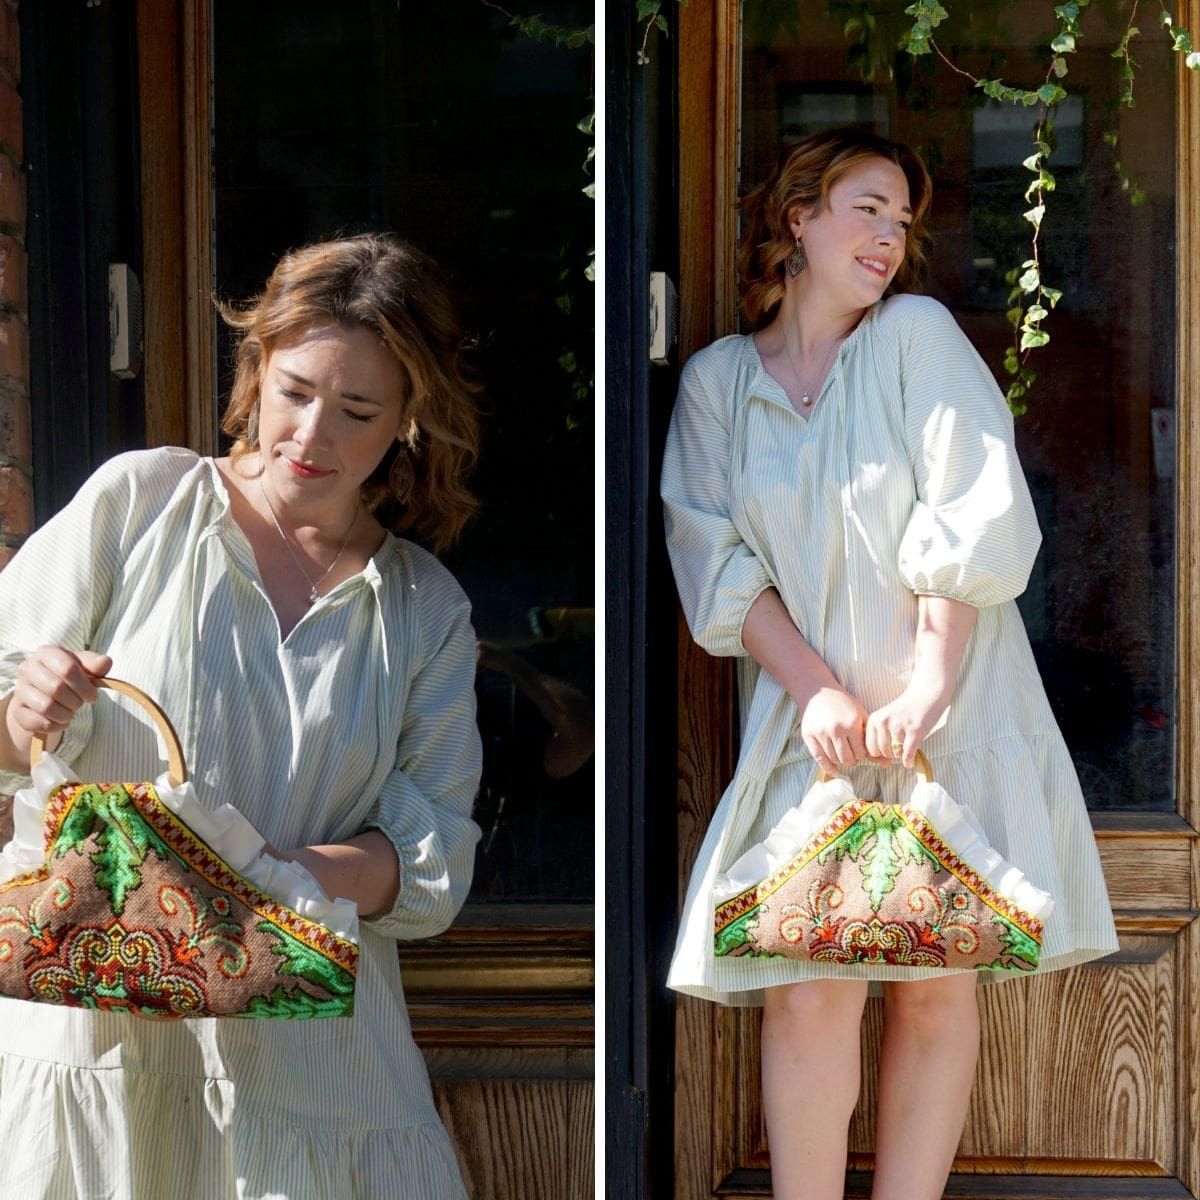
Also, honorable mention to the Roscoe Dress I made and am wearing here. My Sew & Tell podcast hosts RAVE about this pattern and I finally made one—actually two, it’s a great pattern.
Upcycle 2: Embroidered Scrap Earrings
The other accessory I made in the episode were these earrings. It is just the perfect thing to create when you have tiny scraps of leather, pleather or vinyl.
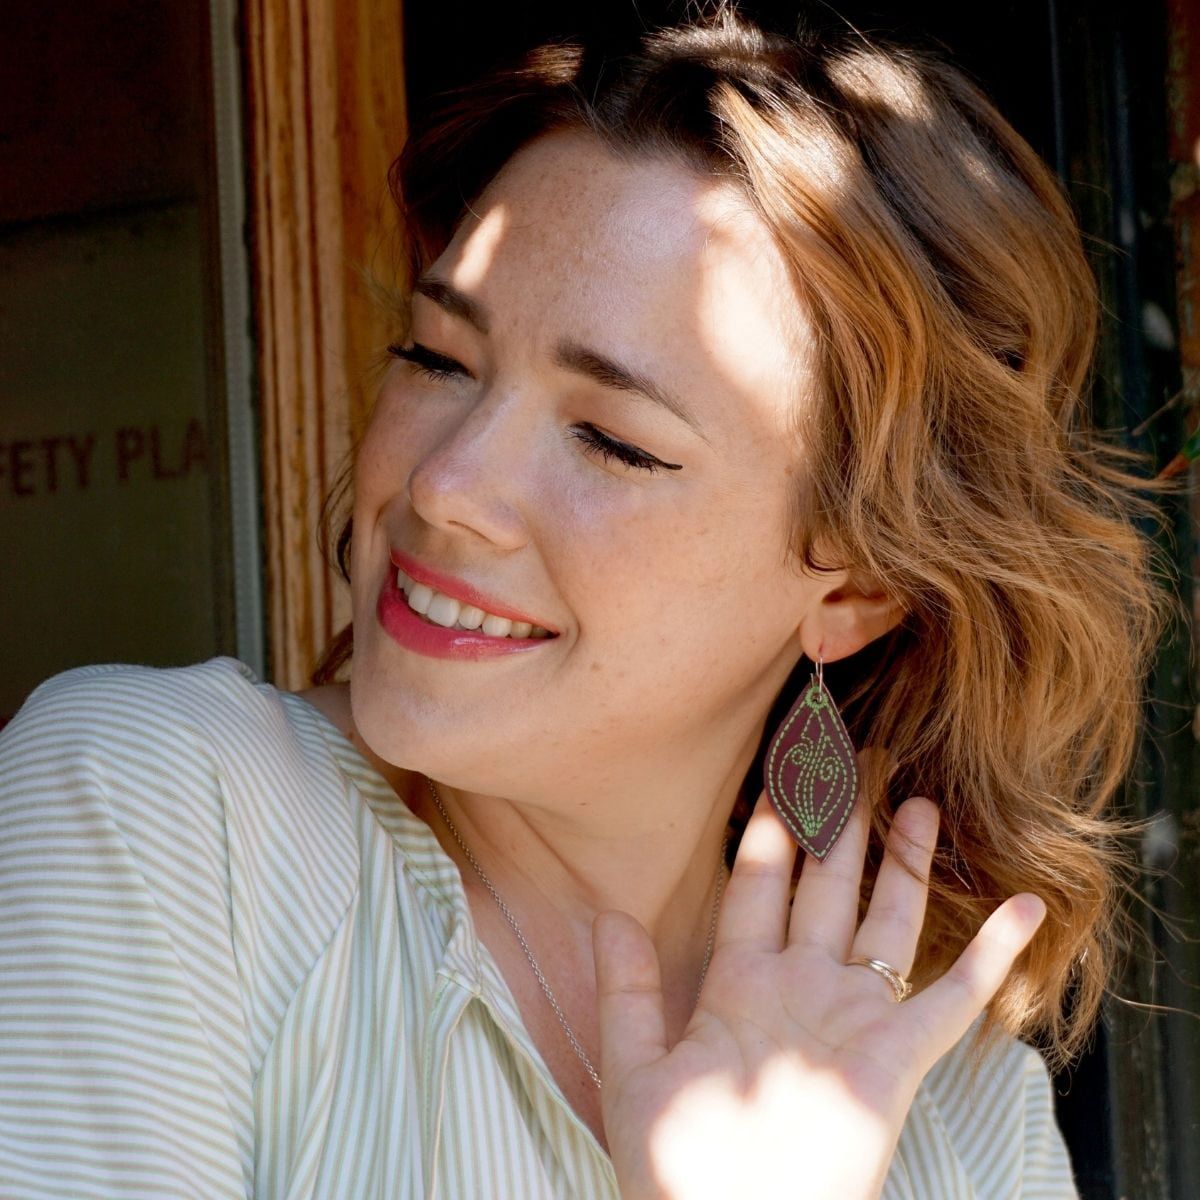
Loved them so much I made two!
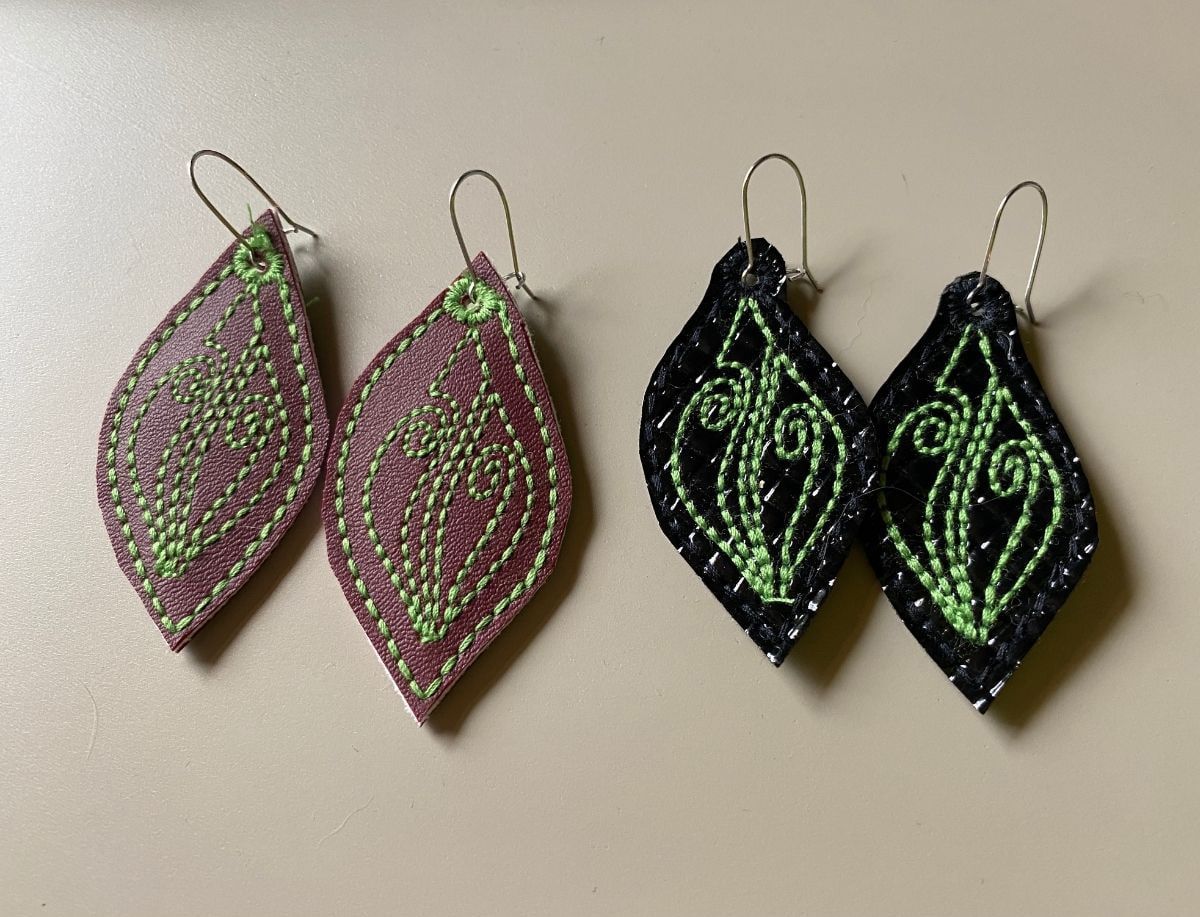
On the left were my test pair, where I used the same green thread for the holding stitch and eyelet for the earring. Both versions are cool and I cannot wait to experiment more with sewing earrings for myself. No scrap is too small!
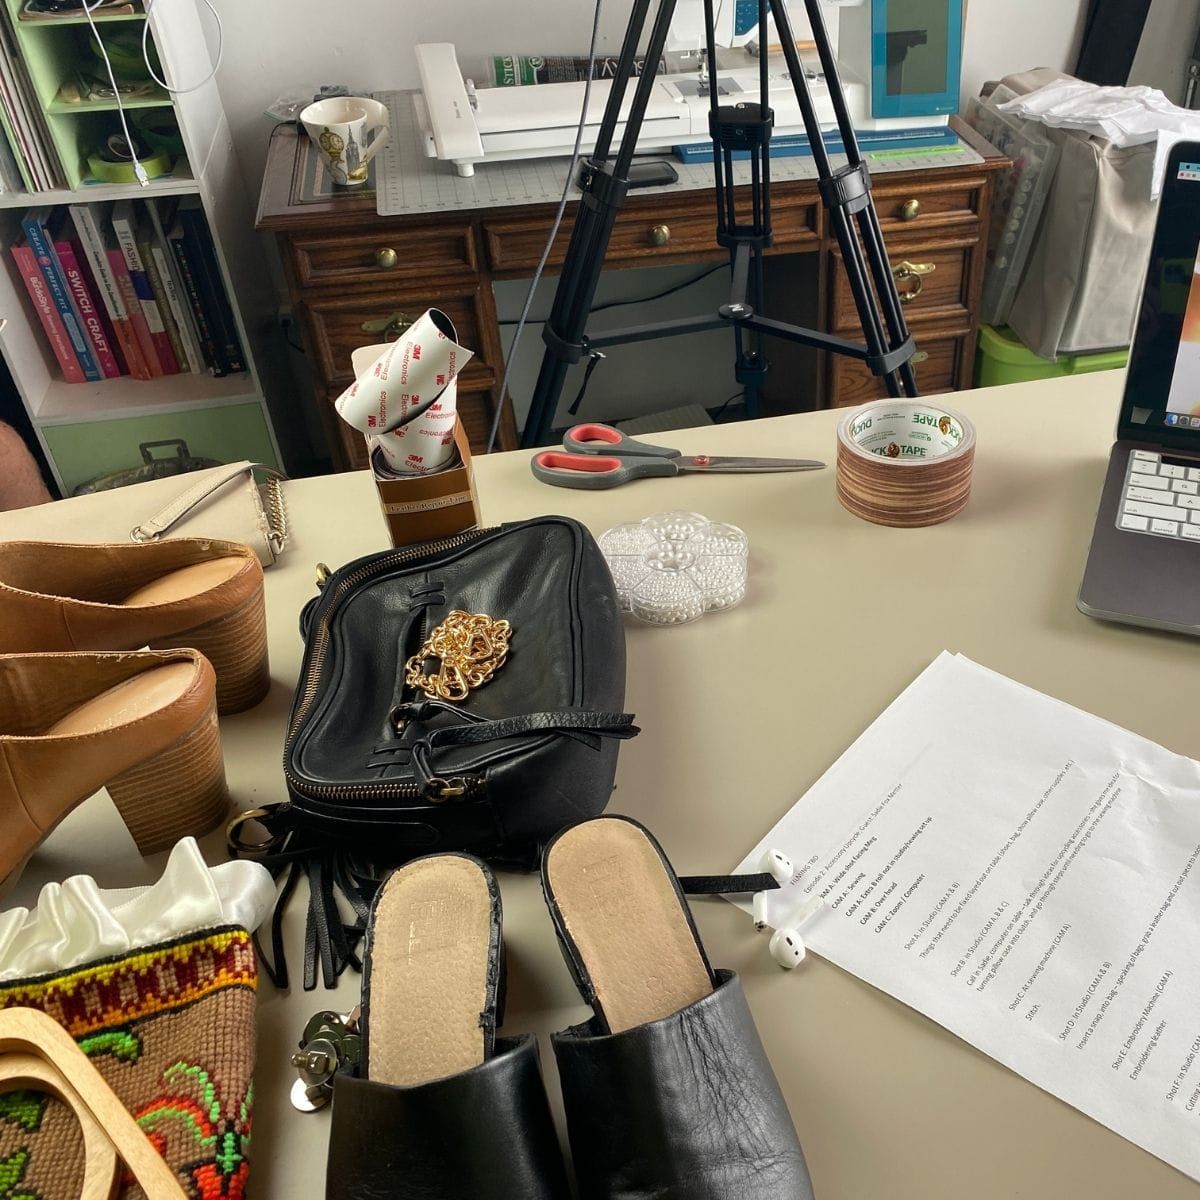
Above is a little behind the scenes of filming this episode when I had all my damaged goods in front of me—I can now say they are all fixed!
Bonus Project: Repairing Damaged Shoes
My damaged objects for the episode included two pairs of damaged shoes. Sadie gave me some great ideas for how to repair them!
Method 1: Wood Grain Printed Tape
I am by no means a shoe maker (one day I really hope to make my own pair from scratch), but I am a creative thinker so I wanted to think of a way to fix these mules that I just got.
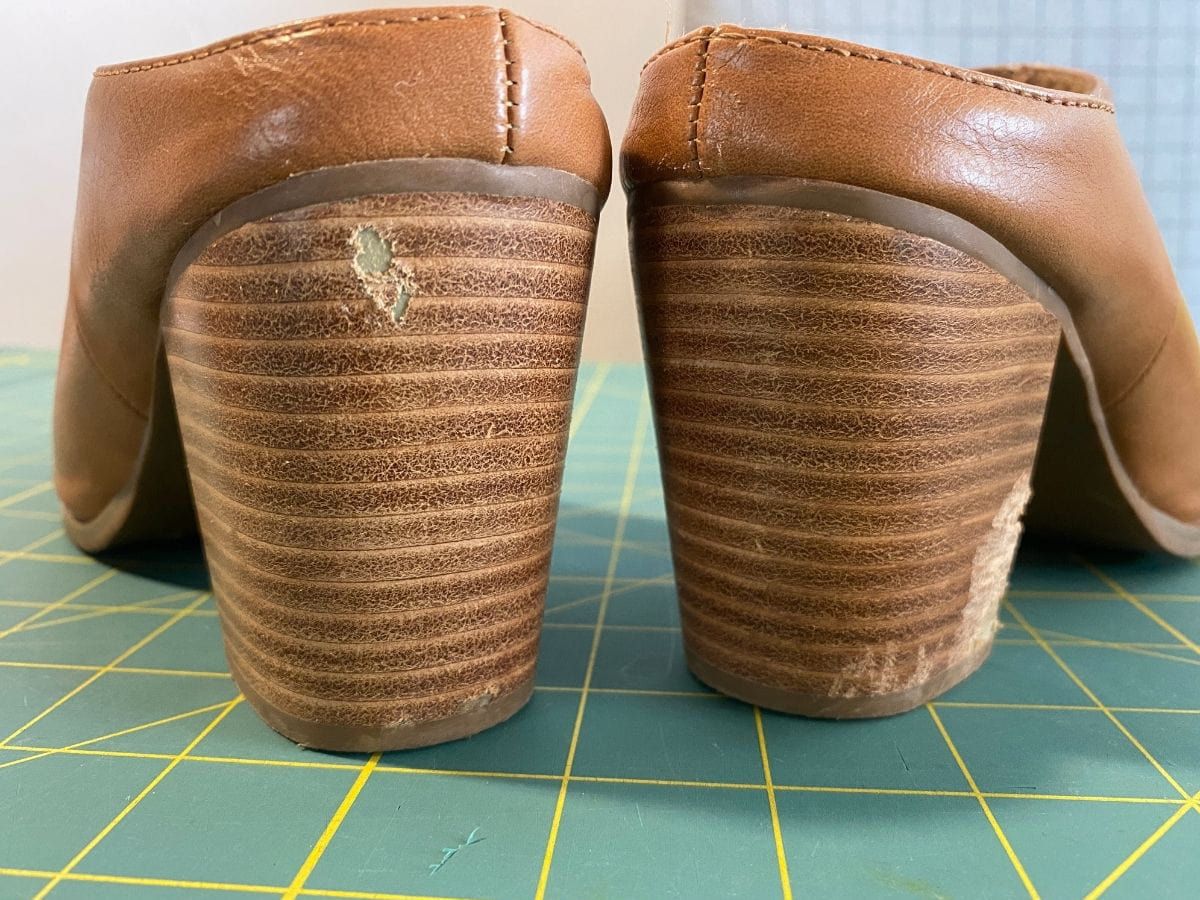
It seems as though my bunny thought they were pretty cool too.
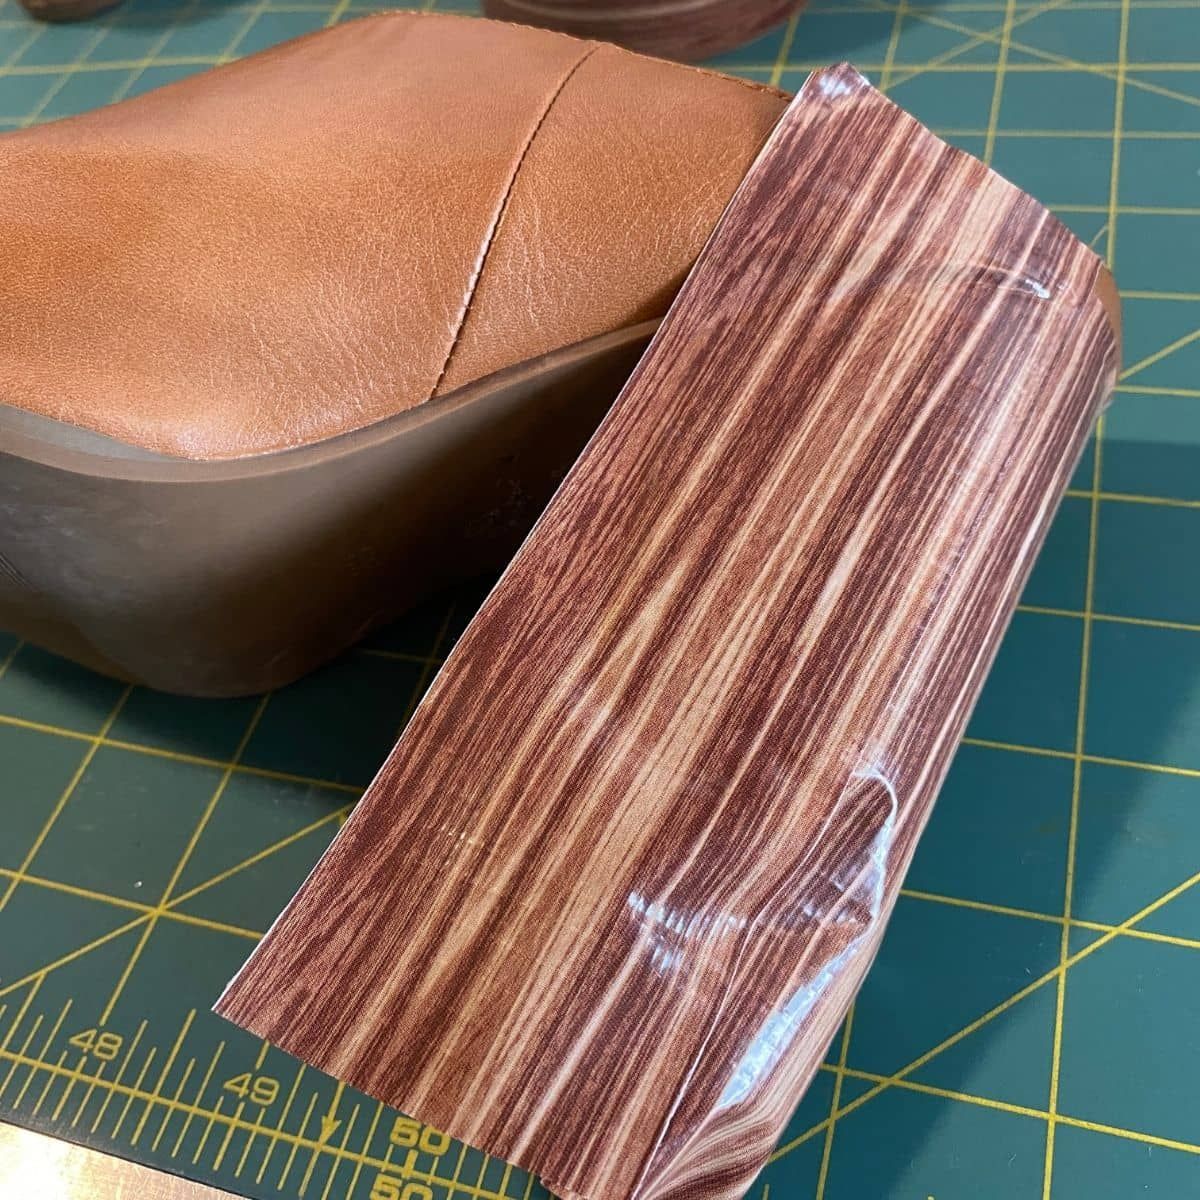
Using wood grain printed tape, I started to conceal the back of the damaged heel.
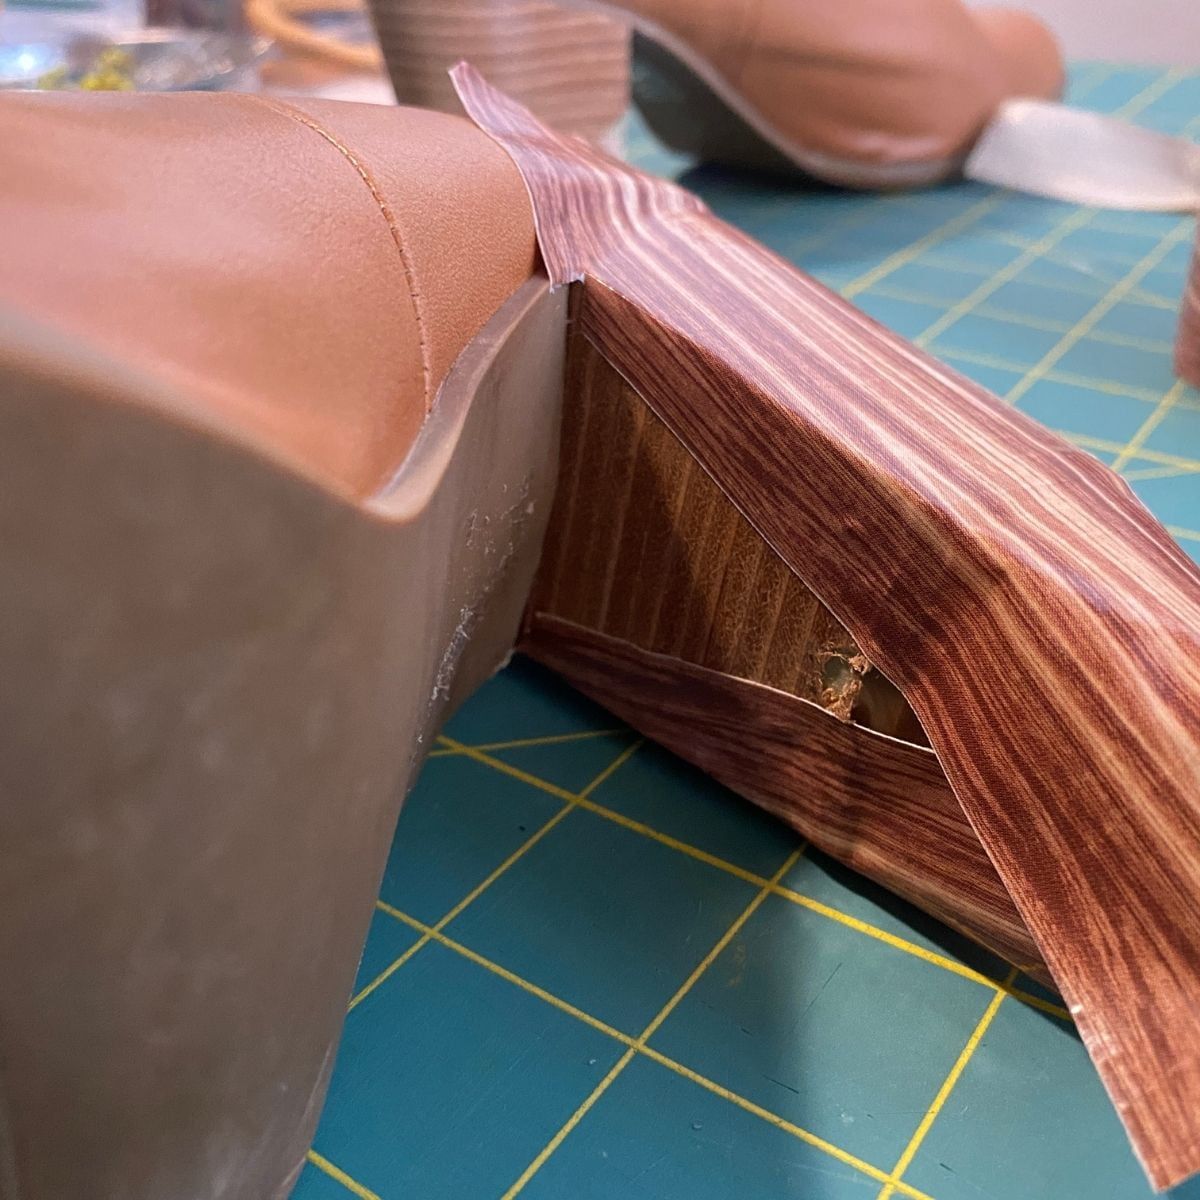
I then wrapped the tape around to the inner heel, clipping at the top.
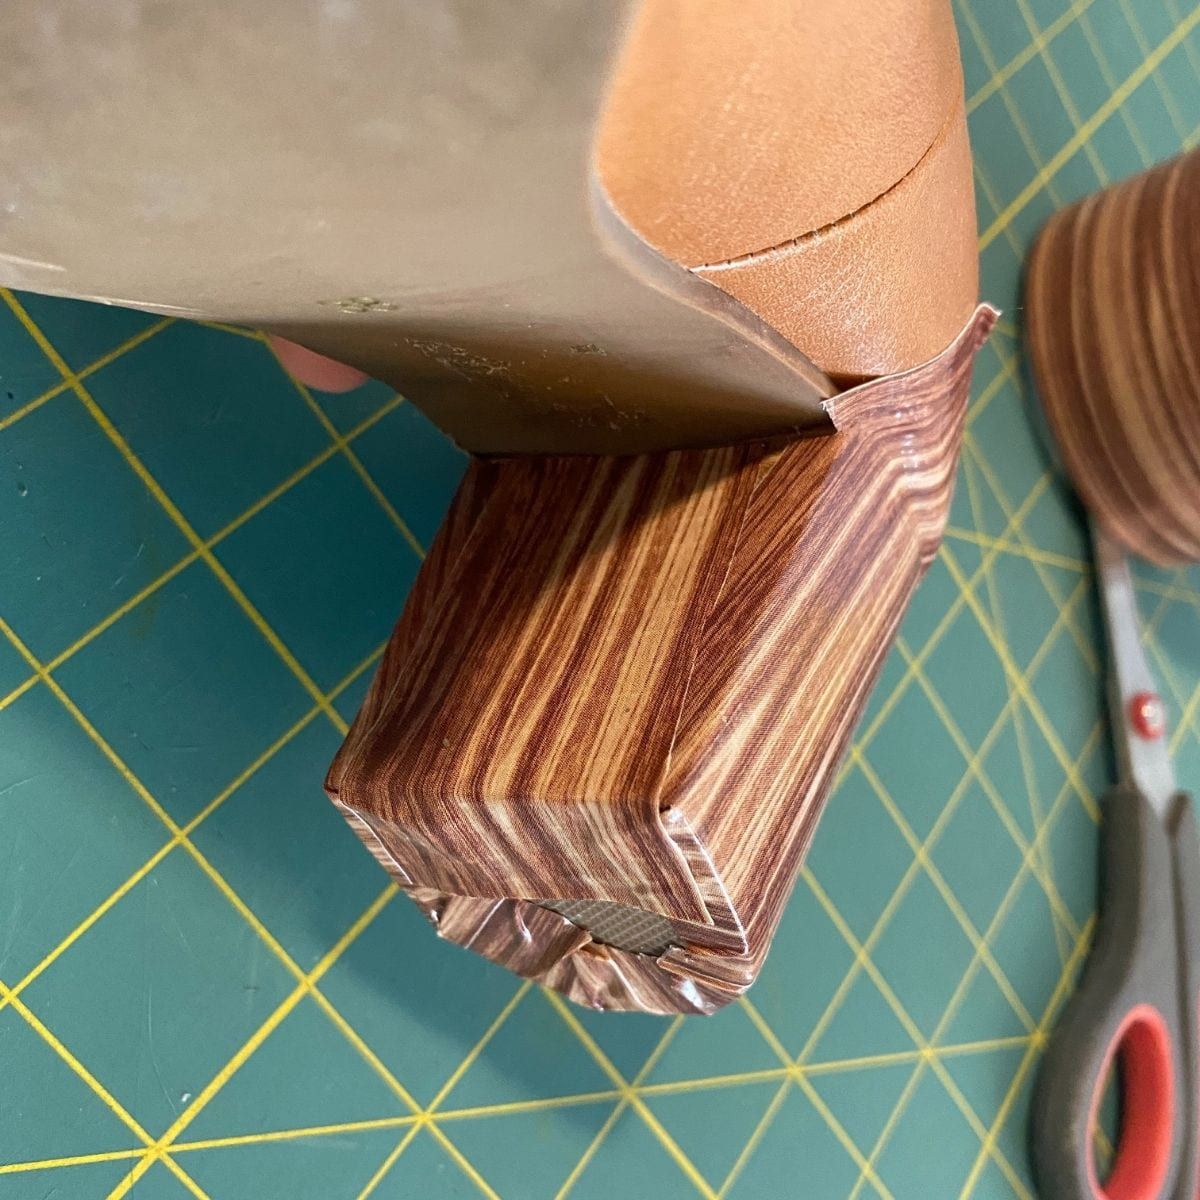
I trimmed the excess at the bottom and then used another small piece to close the gap on the side.
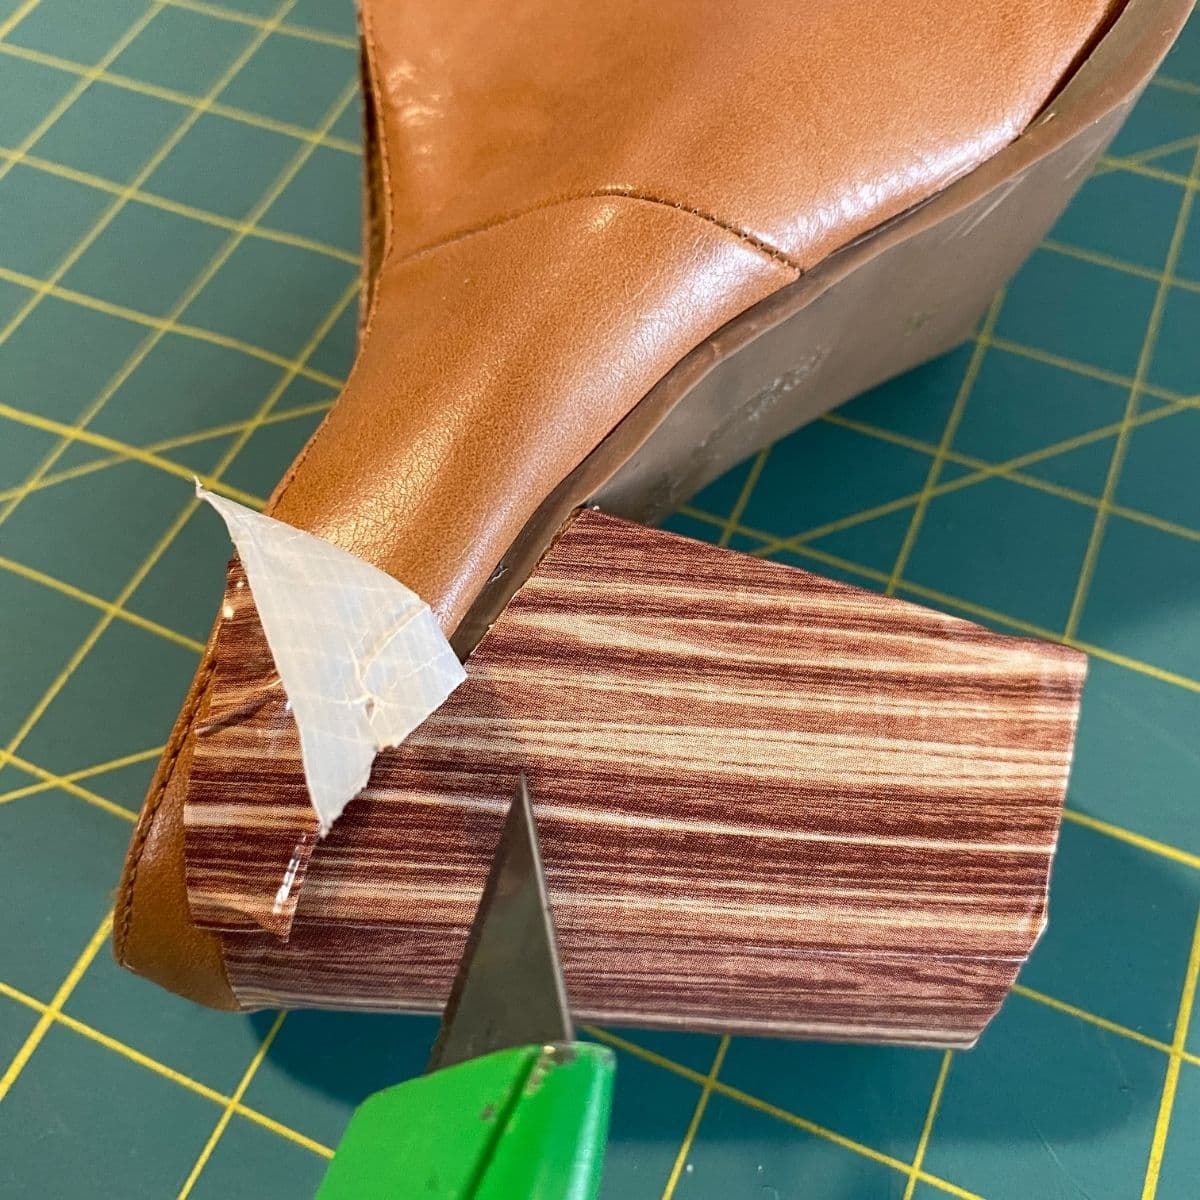
To cut the excess, I used a knife to glide along the existing shape of the finishing rubber strip.
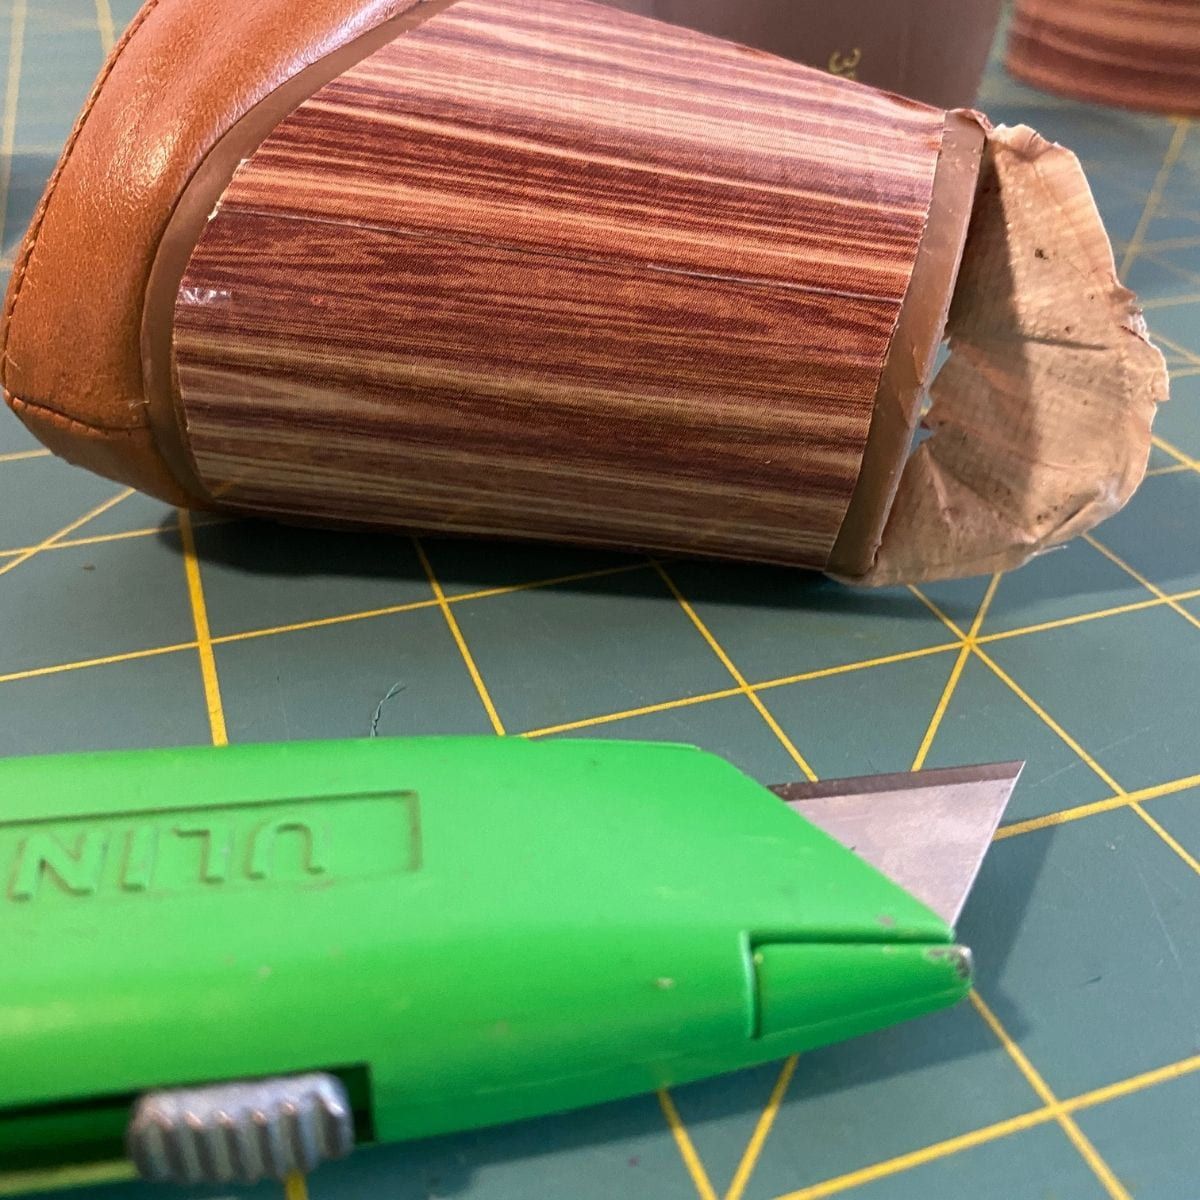
I used the same method to cut the base of the heel.
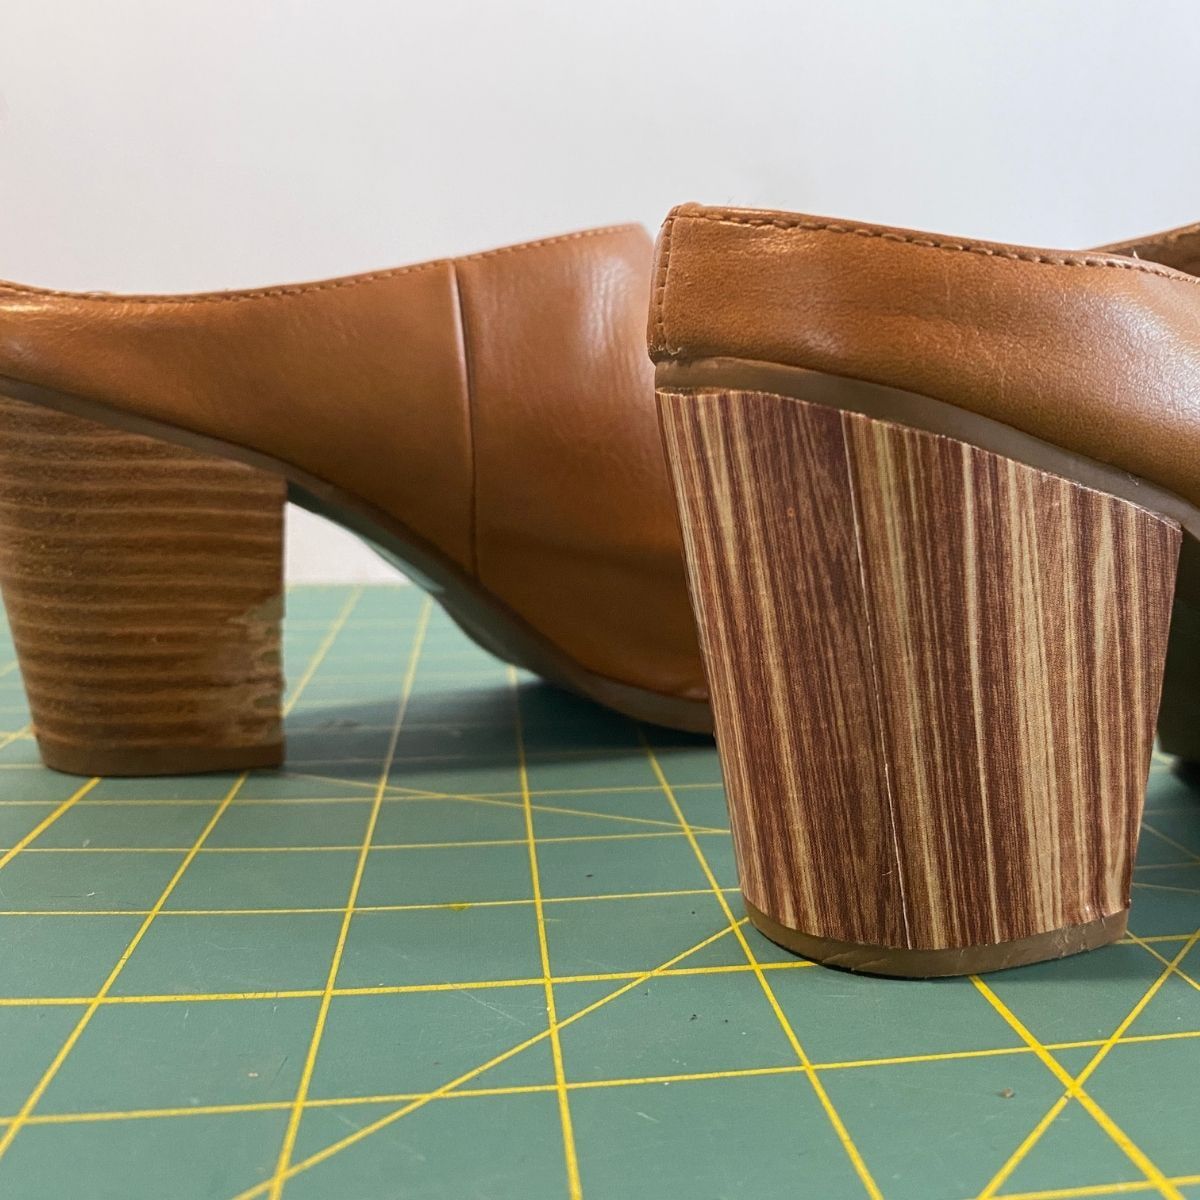
Ta da! One heel done, and you can see the before and after. Best of all, if the tape gets damaged you can simply stick on some new tape! Very quick and easy fix (not to mention affordable) for chewed wooden heels.
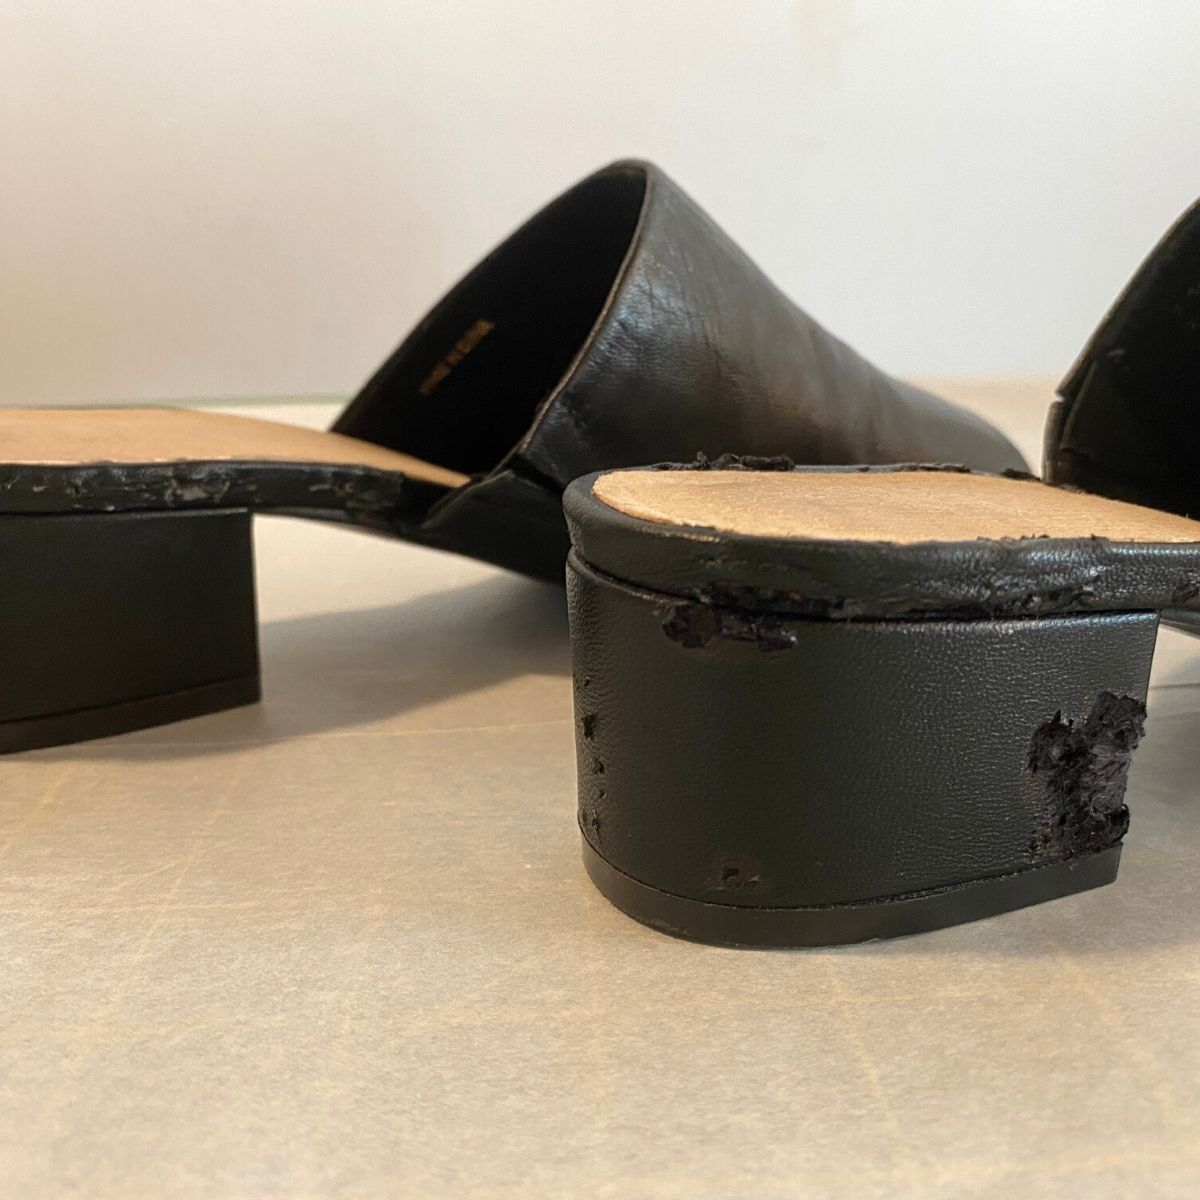
Method 2: Mod Podge + Glitter
Since my bunny loves shoes, there was another chewed-on pair that I wanted to fix.
In the episode, Sadie suggested glitter!
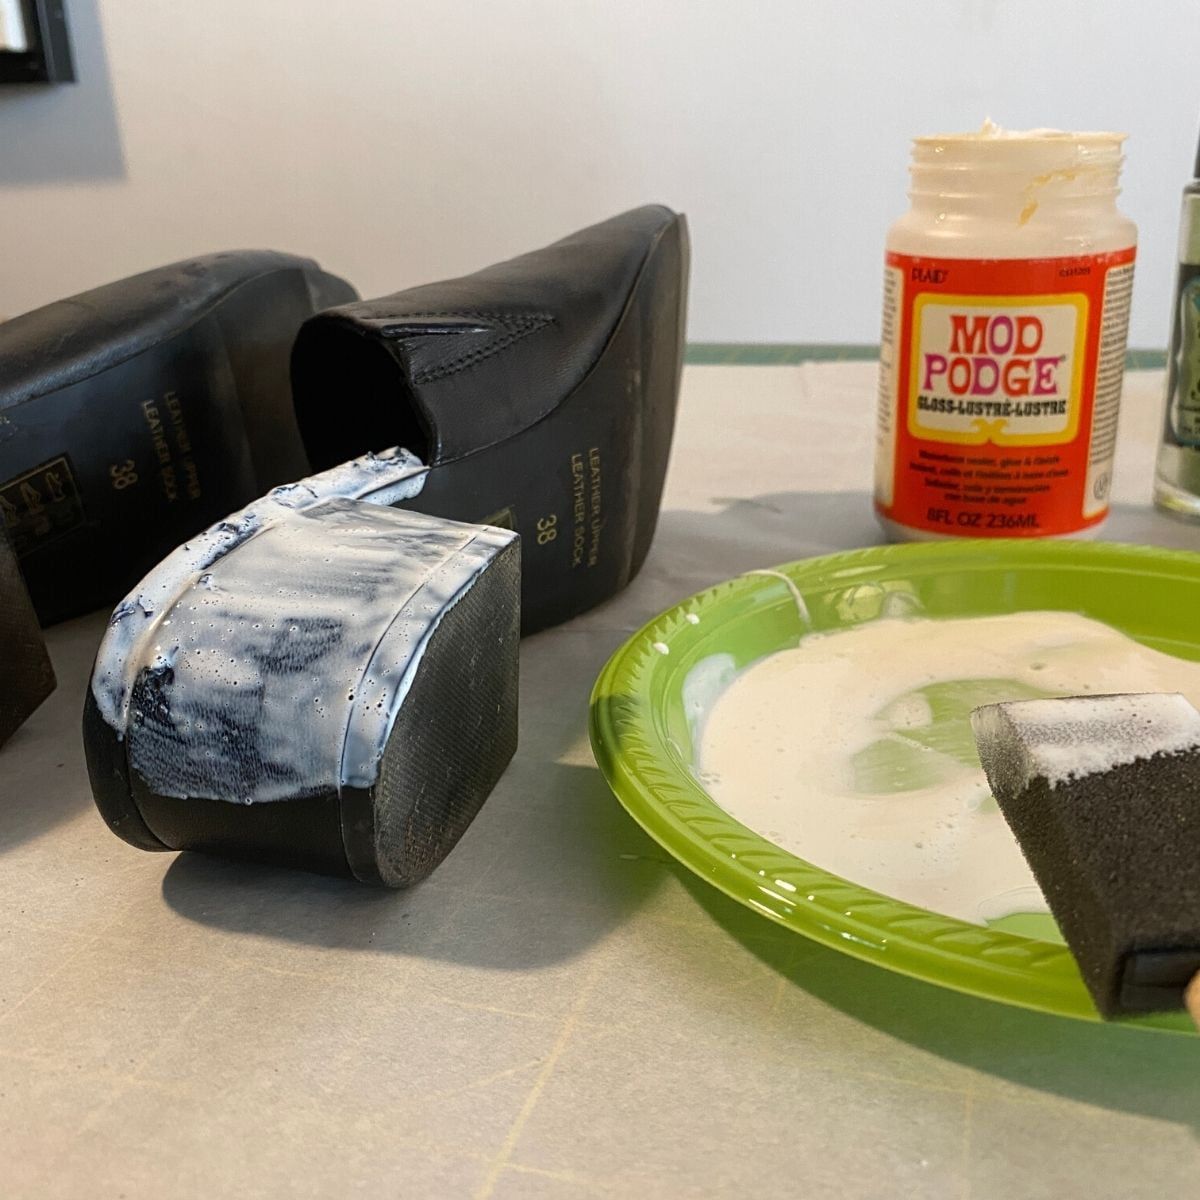
I had Mod Podge on hand so I decided to use that and paint over the damaged areas on my shoes.
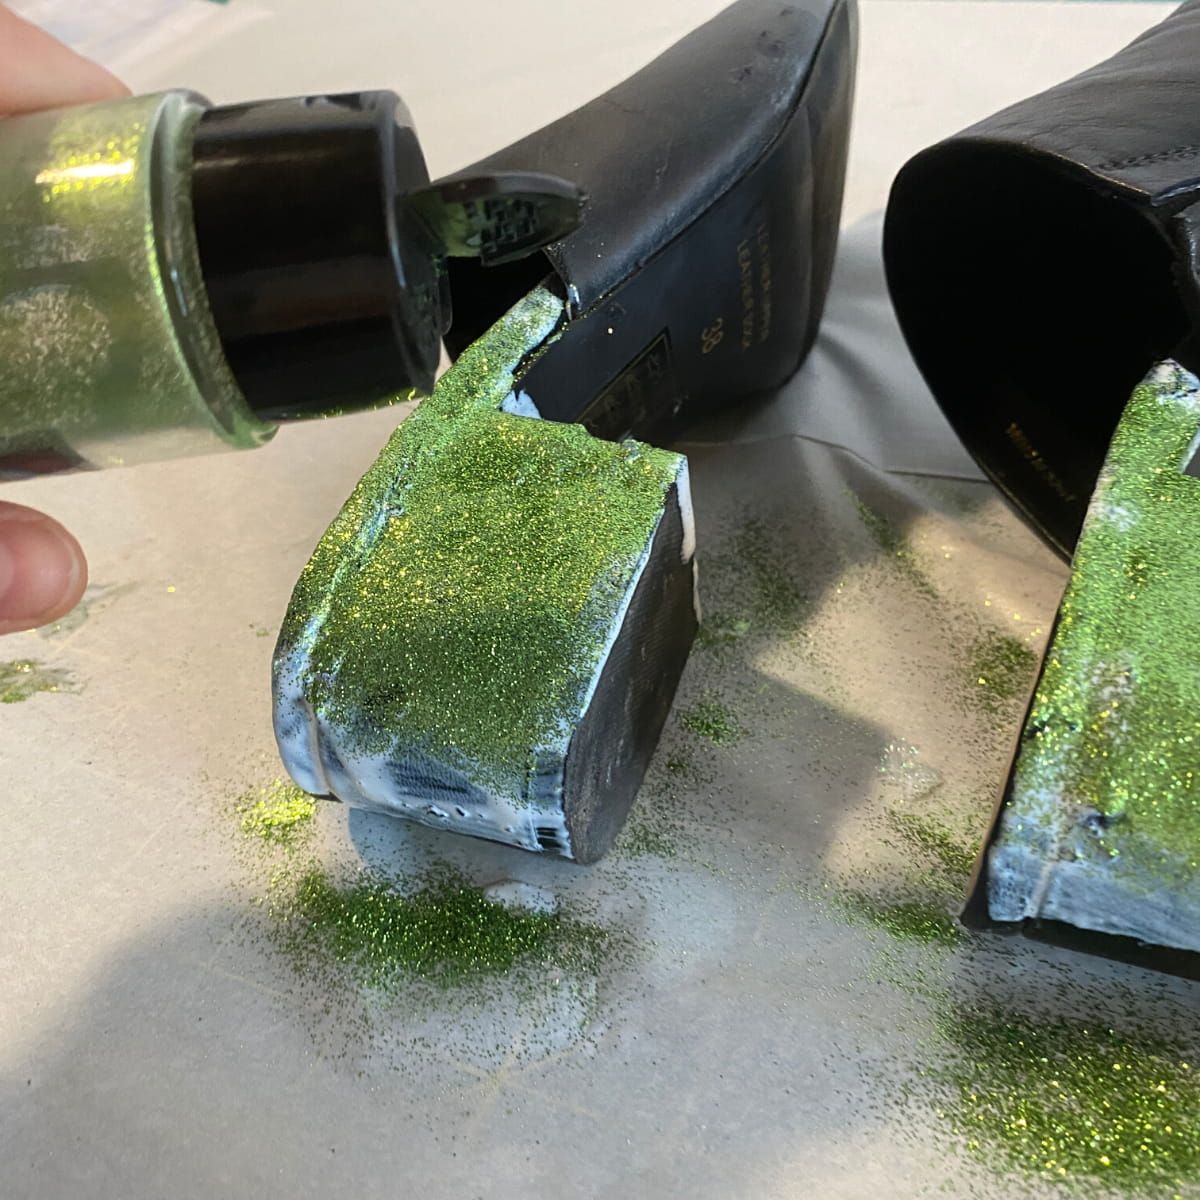
Glitter time! I of course already had glitter on hand, and green glitter it was. I heavily shook my glitter over the glue and rotated around the shoe.
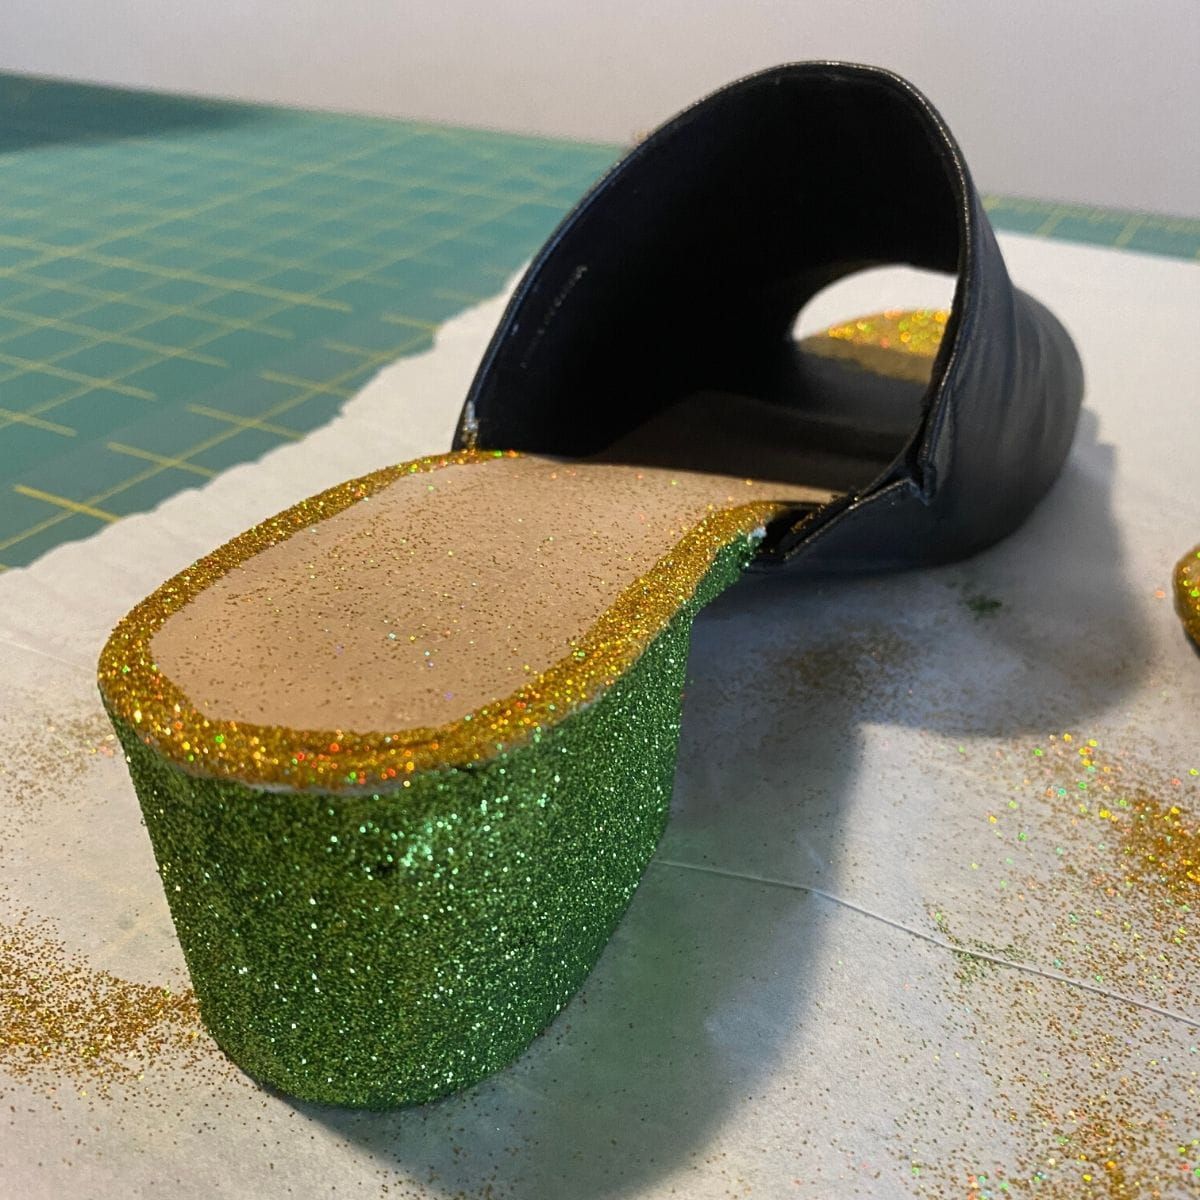
Once the green glitter dried, I decided to add more because, why not? Along the top trim of my shoe, I dabbed on a bit more glue and shook on some gold glitter.
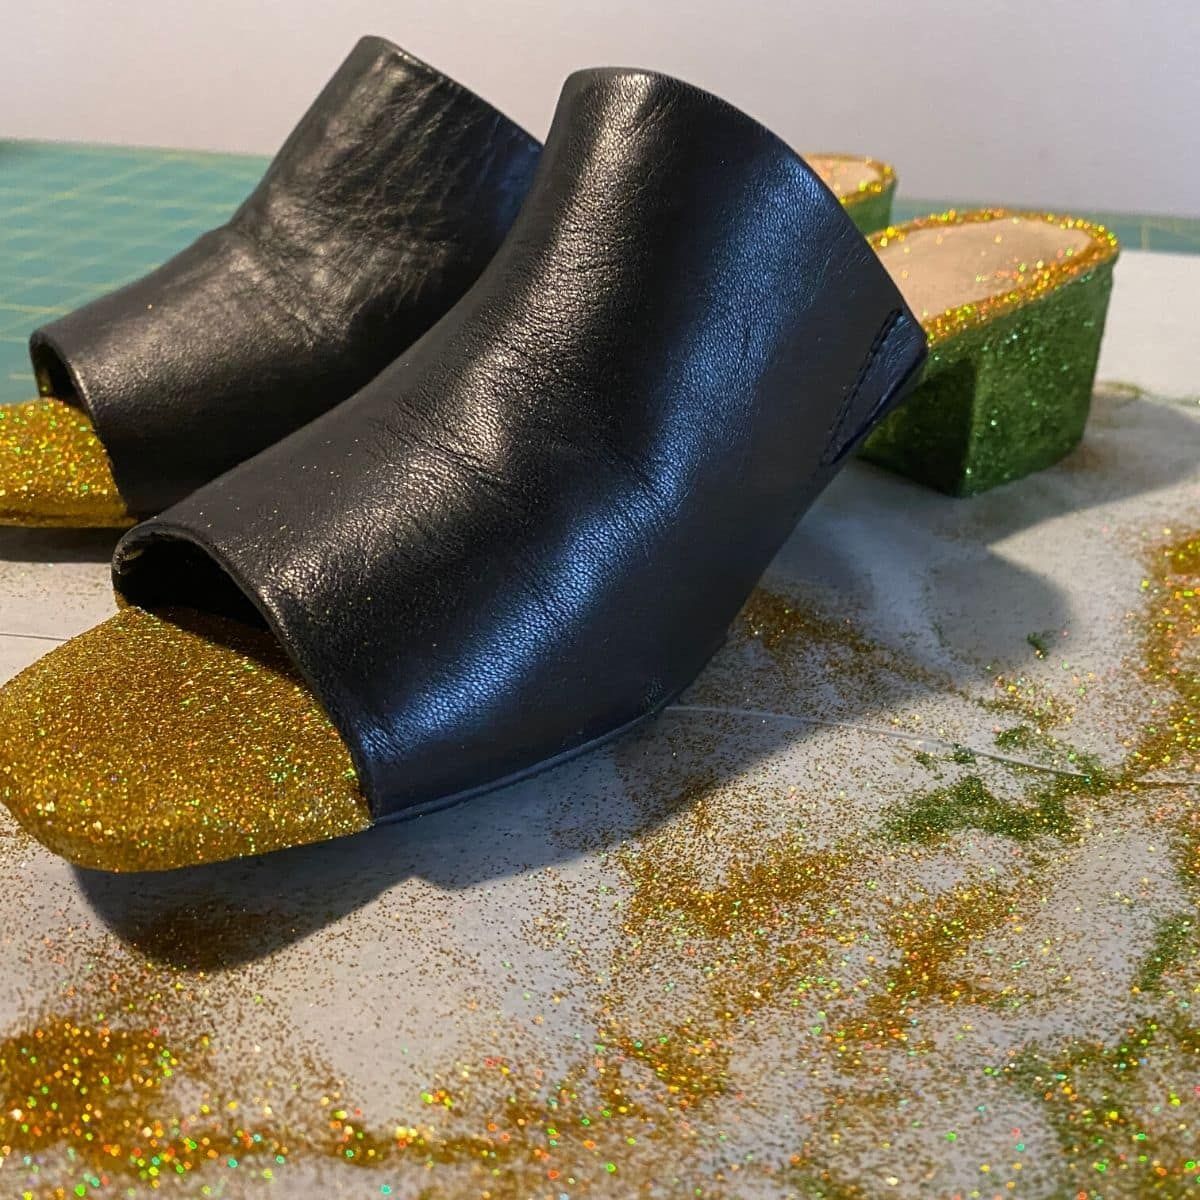
I also added some glitter to the toes—these are such fun shoes and I am saving them for New Year’s Eve.
Love the fact that I was able to restore two shoes after a bunny attack to the point of being able to wear them again. When garments rip or get destroyed, it’s always easier for me to fix since I can just put them under the sewing machine. But when it comes to accessories and shoes with more abstract materials, it’s harder to imagine repairing. Just employ a little creativity and snoop around your house; you never know what ideas will pop into your head.
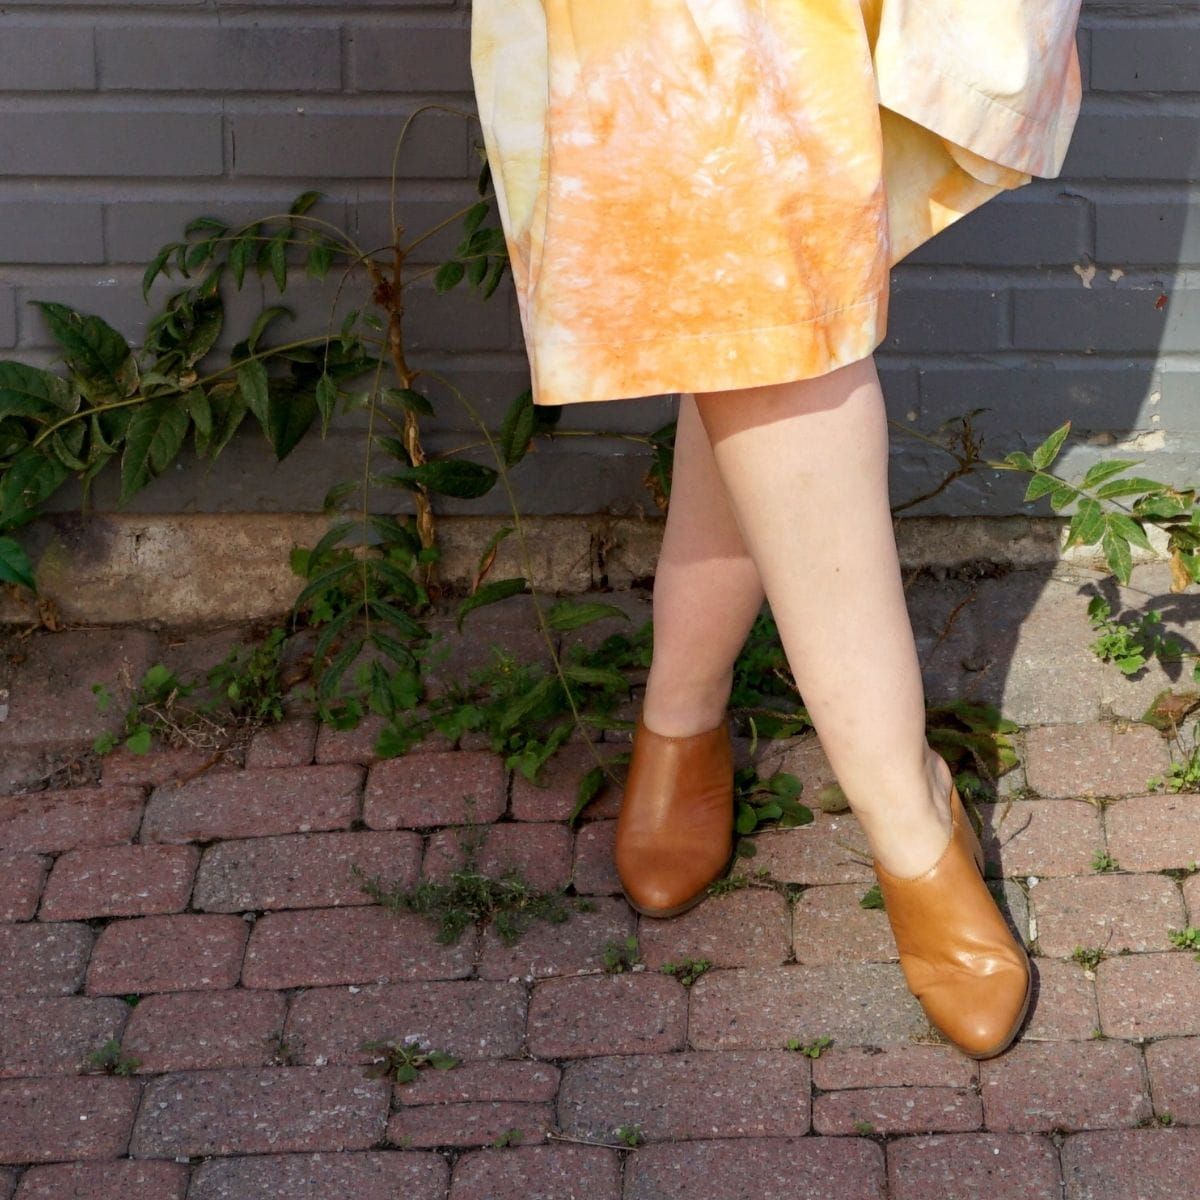
Here is a little sneak preview of next week’s episode. In the pictures, I was able to wear my fixed shoes.
If you have any accessories to fix, or want to upcycle a pillowcase into a clutch purse or other accessory, please make sure to create and post as part of the #StyleReviveChallenge!
How to Enter: Simply post your project to Instagram using #StyleReviveChallenge by October 31st 2021. We may contact you to receive additional images for the live stream as well as your contact information to send you the issue of Sew News Magazine your project is featured in. We can’t wait to see everyone’s makes. Be sure to tune into the live event here! It’s scheduled for November 2, and you can sign up to get a reminder now.
Also make sure to subscribe to our YouTube channel to never miss an episode.
Happy Sewing!
Meg
Thank You to our Sponsor:
This series is brought to you by our wonderful sponsor, whose products were used in the creation of Style Revive.


Join the Conversation!